
My First I2C Sensor!
Intro
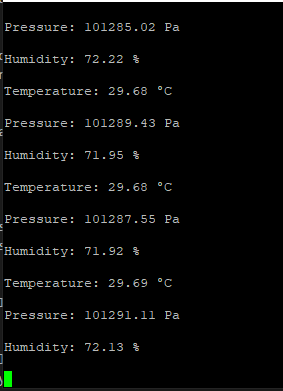
Wow! What a journey. After several days of debugging, I finally got my first sensor working with my STM32 F767ZI board. I was able to connect a BME280 sensor over I2C and read temperature, humidity, and pressure data from it.
It took quite a lot of work. It was the first time I had to solder my own header pins, and my soldering skills were rusty for sure.
Soldering
I had to bust out my old soldering equipment. I actually bought some things after my undergrad, because I used to try to fix my XBOX controllers when the joysticks failed.
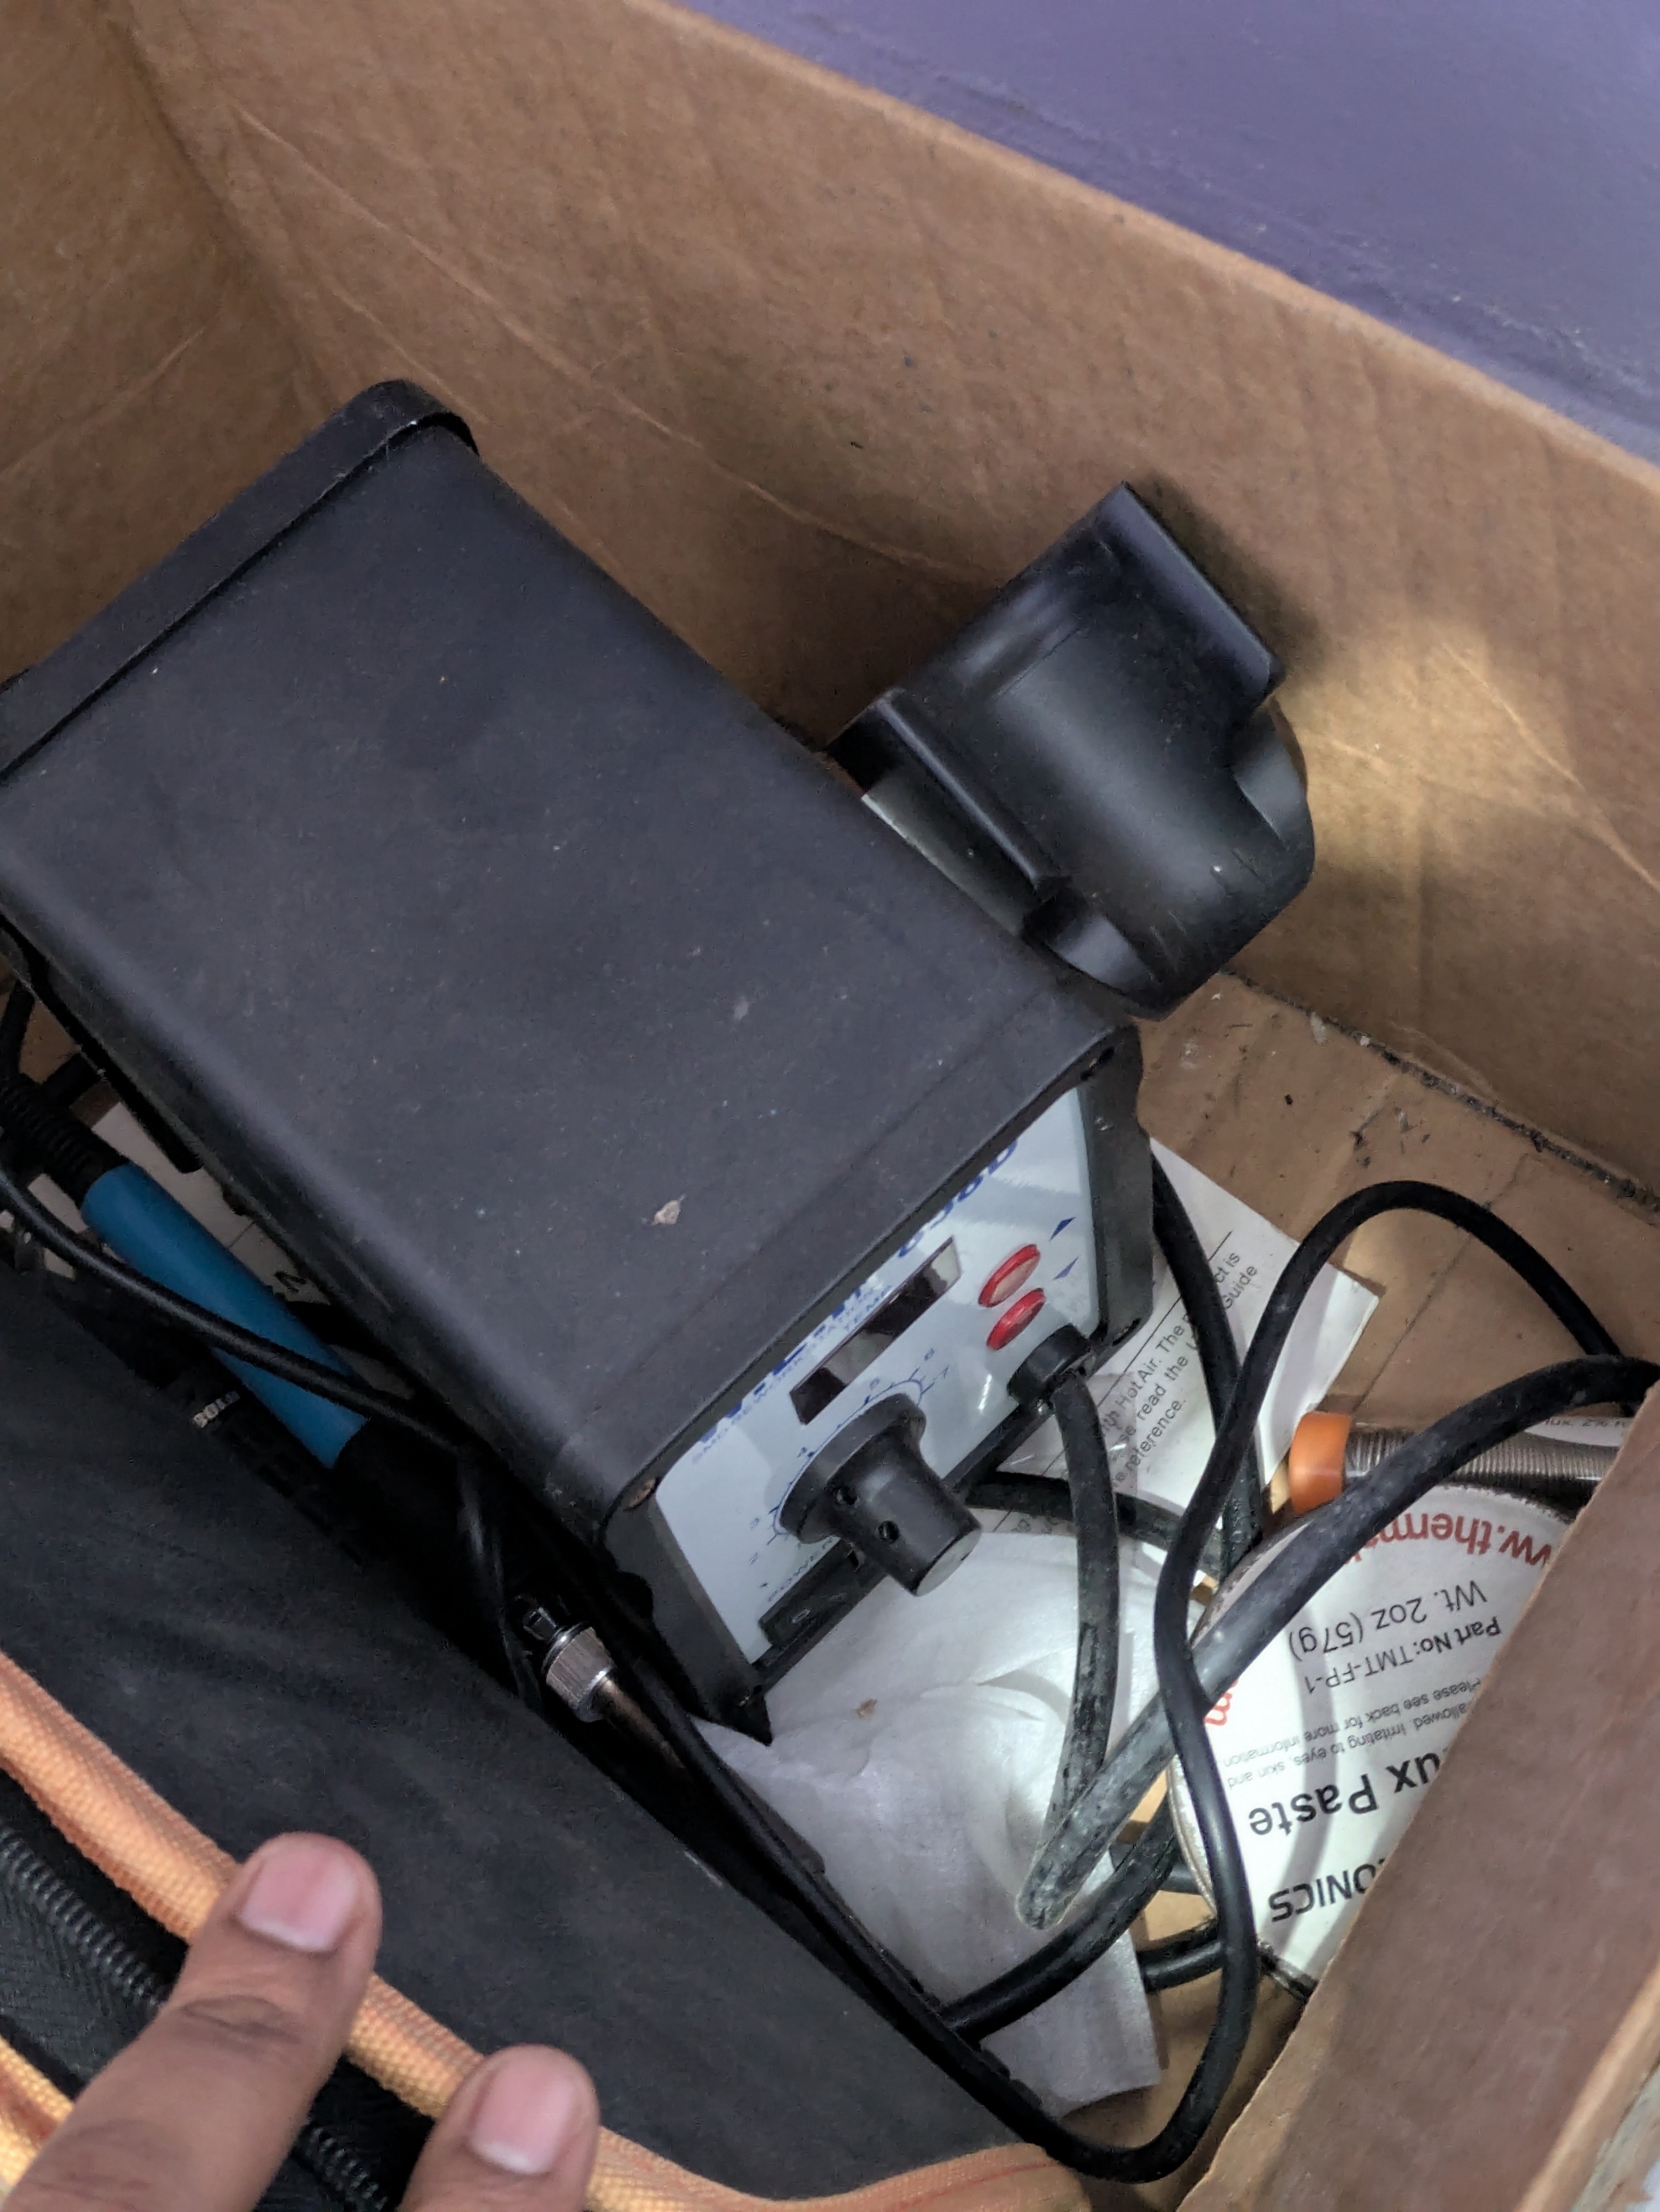
This is how it looked in the end.
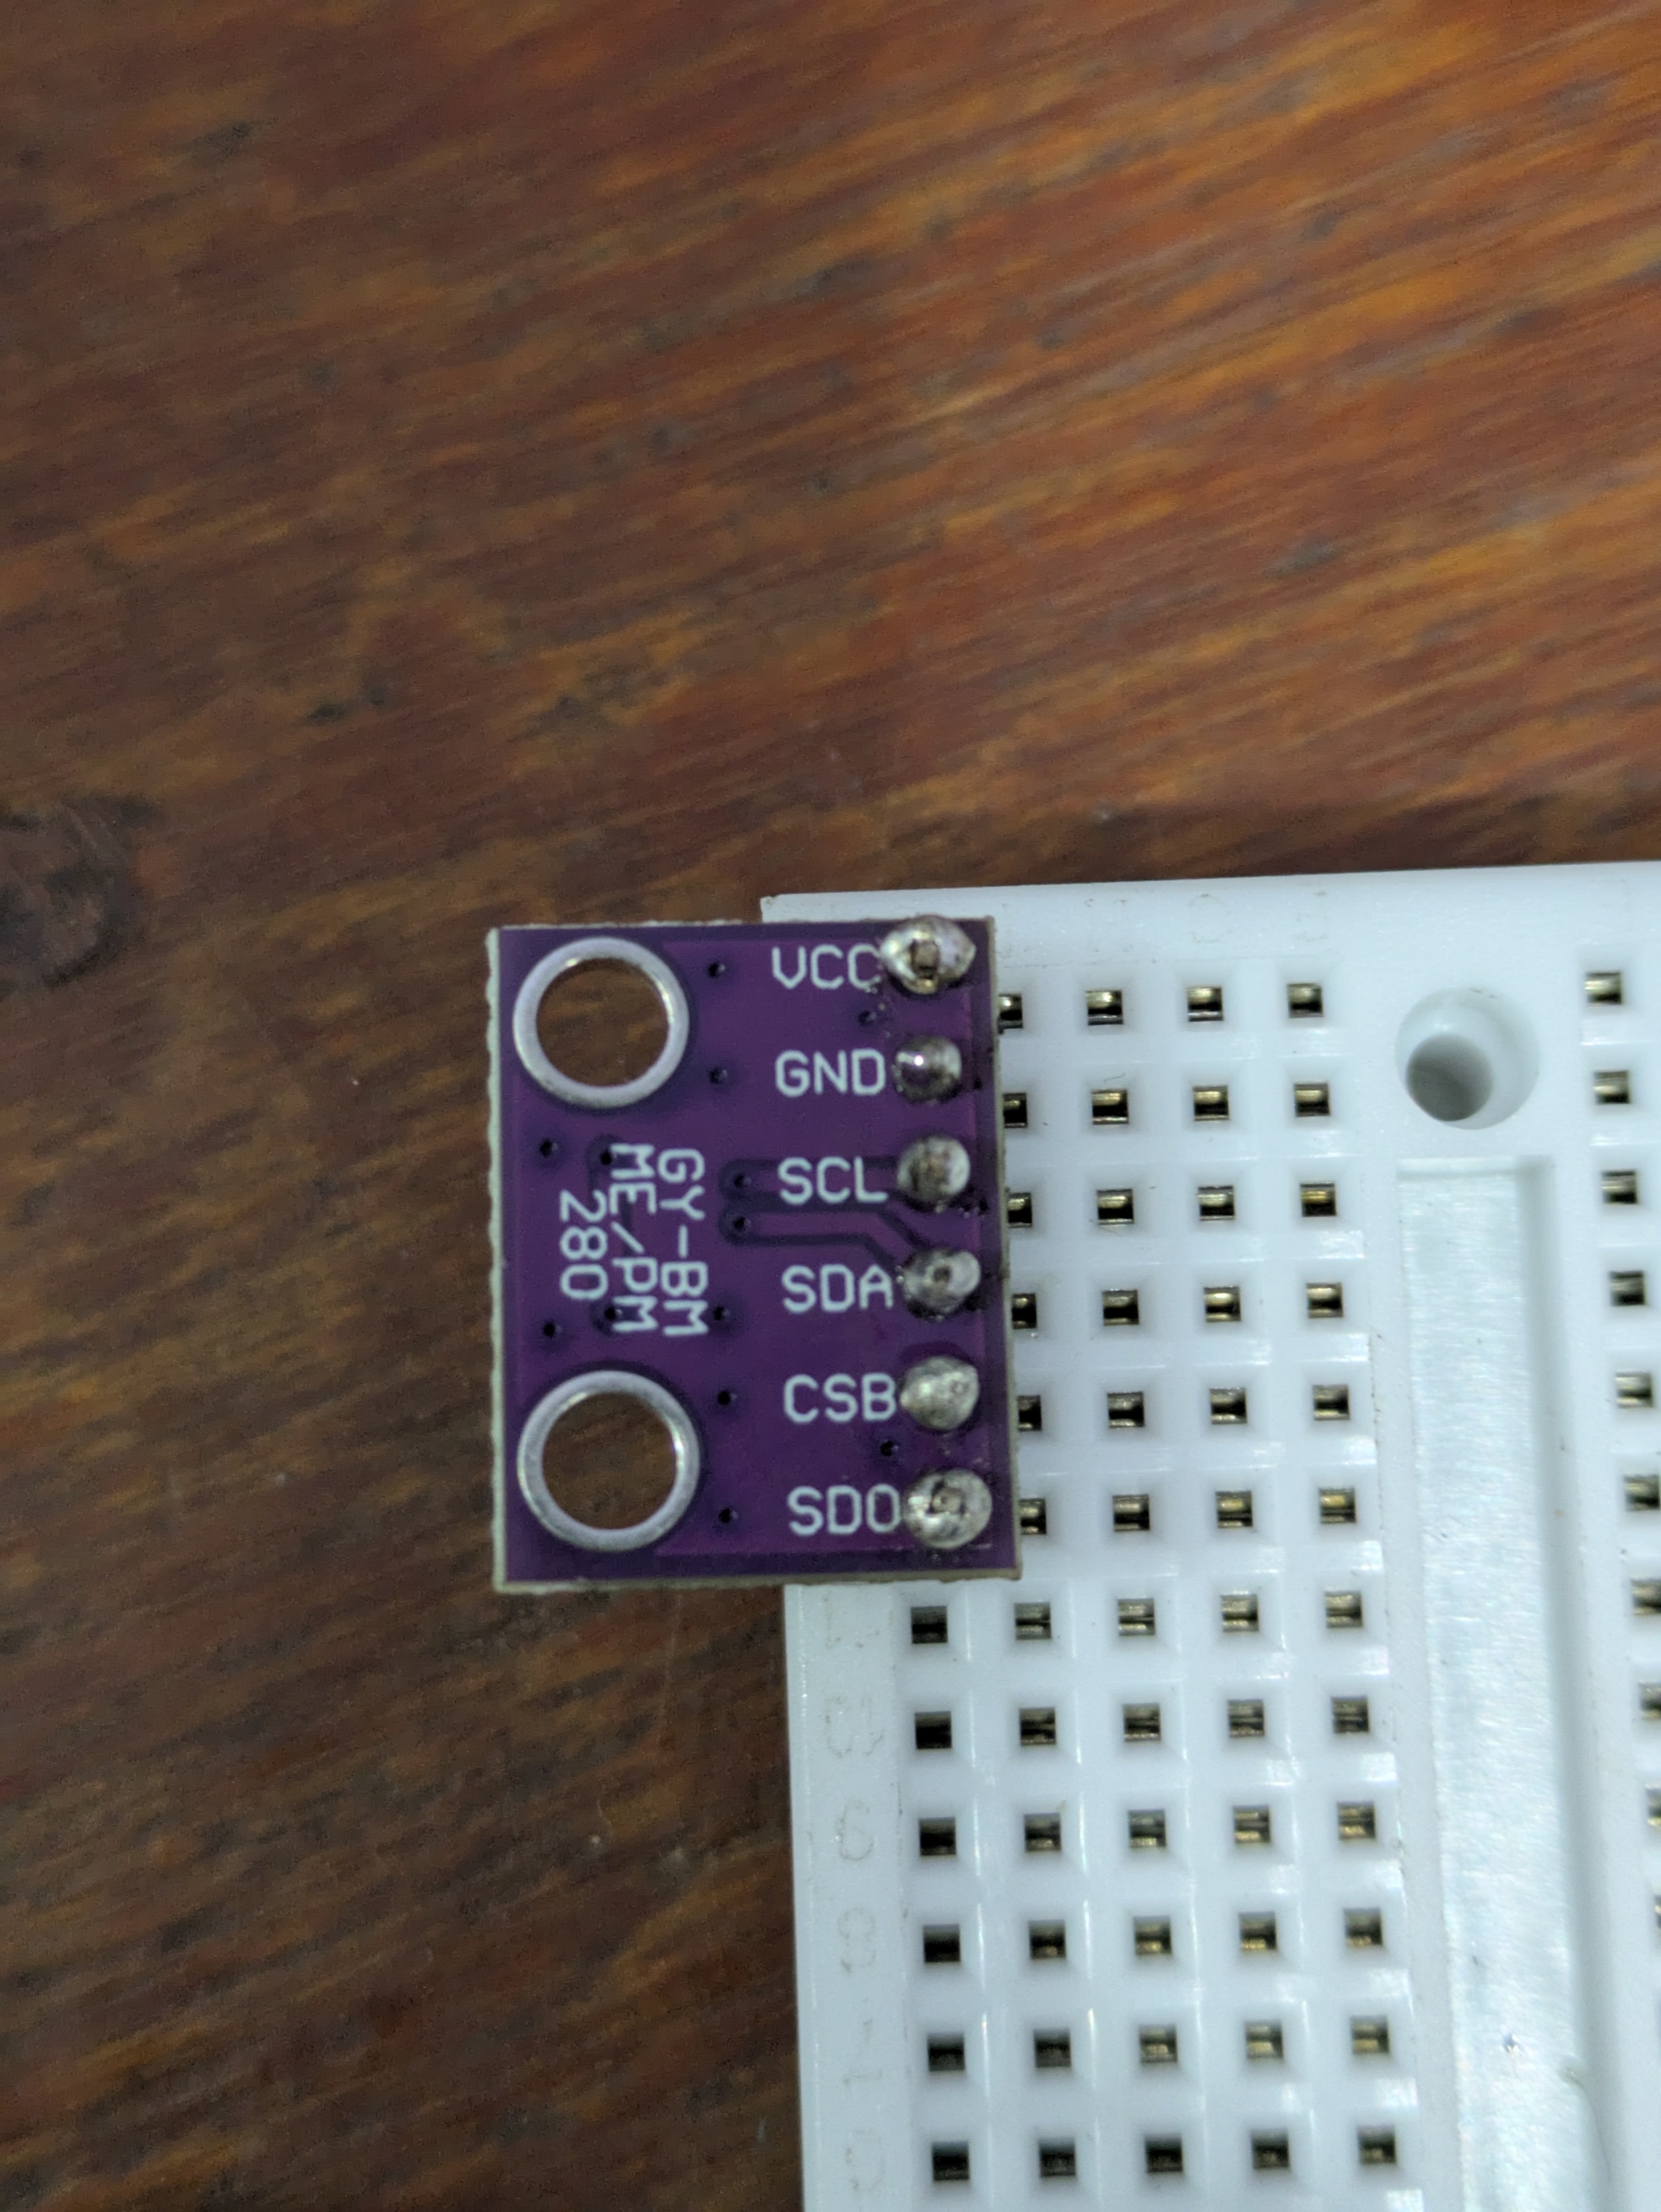
If I was being graded on this, I would have probably had to clean and resolder this. But it was good enough to get the job done for this case.
A New STM32 Project
Up to now, all of my projects were fun projects to learn some basic STM32 concepts. I wanted to start to create something actually useful for myself, so I decided to start a brand new project. I’m calling it “Home Weather Station” for now, but I might change it to something cooler as it evolves.
Since I had already created several STM32 projects previously, I had a good idea of what I wanted to do. Firstly, I just created the project and added the printf redirect to USART3 (which is connected to the ST-Link USB port of my Nucleo board). This way I could see the output of my program.
Then, I set up FreeRTOS on the project, using a new task to print some basic text periodically. Once this built and ran successfully, I was ready to really dive into the new stuff.
Adding the BME280 Sensor
I had no idea how to read data from this sensor using I2C. I used two resources mainly to try to figure it out. Bosch had a repo on Github that contained their driver code for the sensor, and I figured I could use QWEN to give me some hints on how to actually use the driver.
QWEN gave me a lot of good sample code, but also a lot of outdated code. I guess the functions in the driver had changed over the years, and for some reason, QWEN refused to accept the updated code I gave it. I ended up fighting with several issues before I actually got values from the sensor:
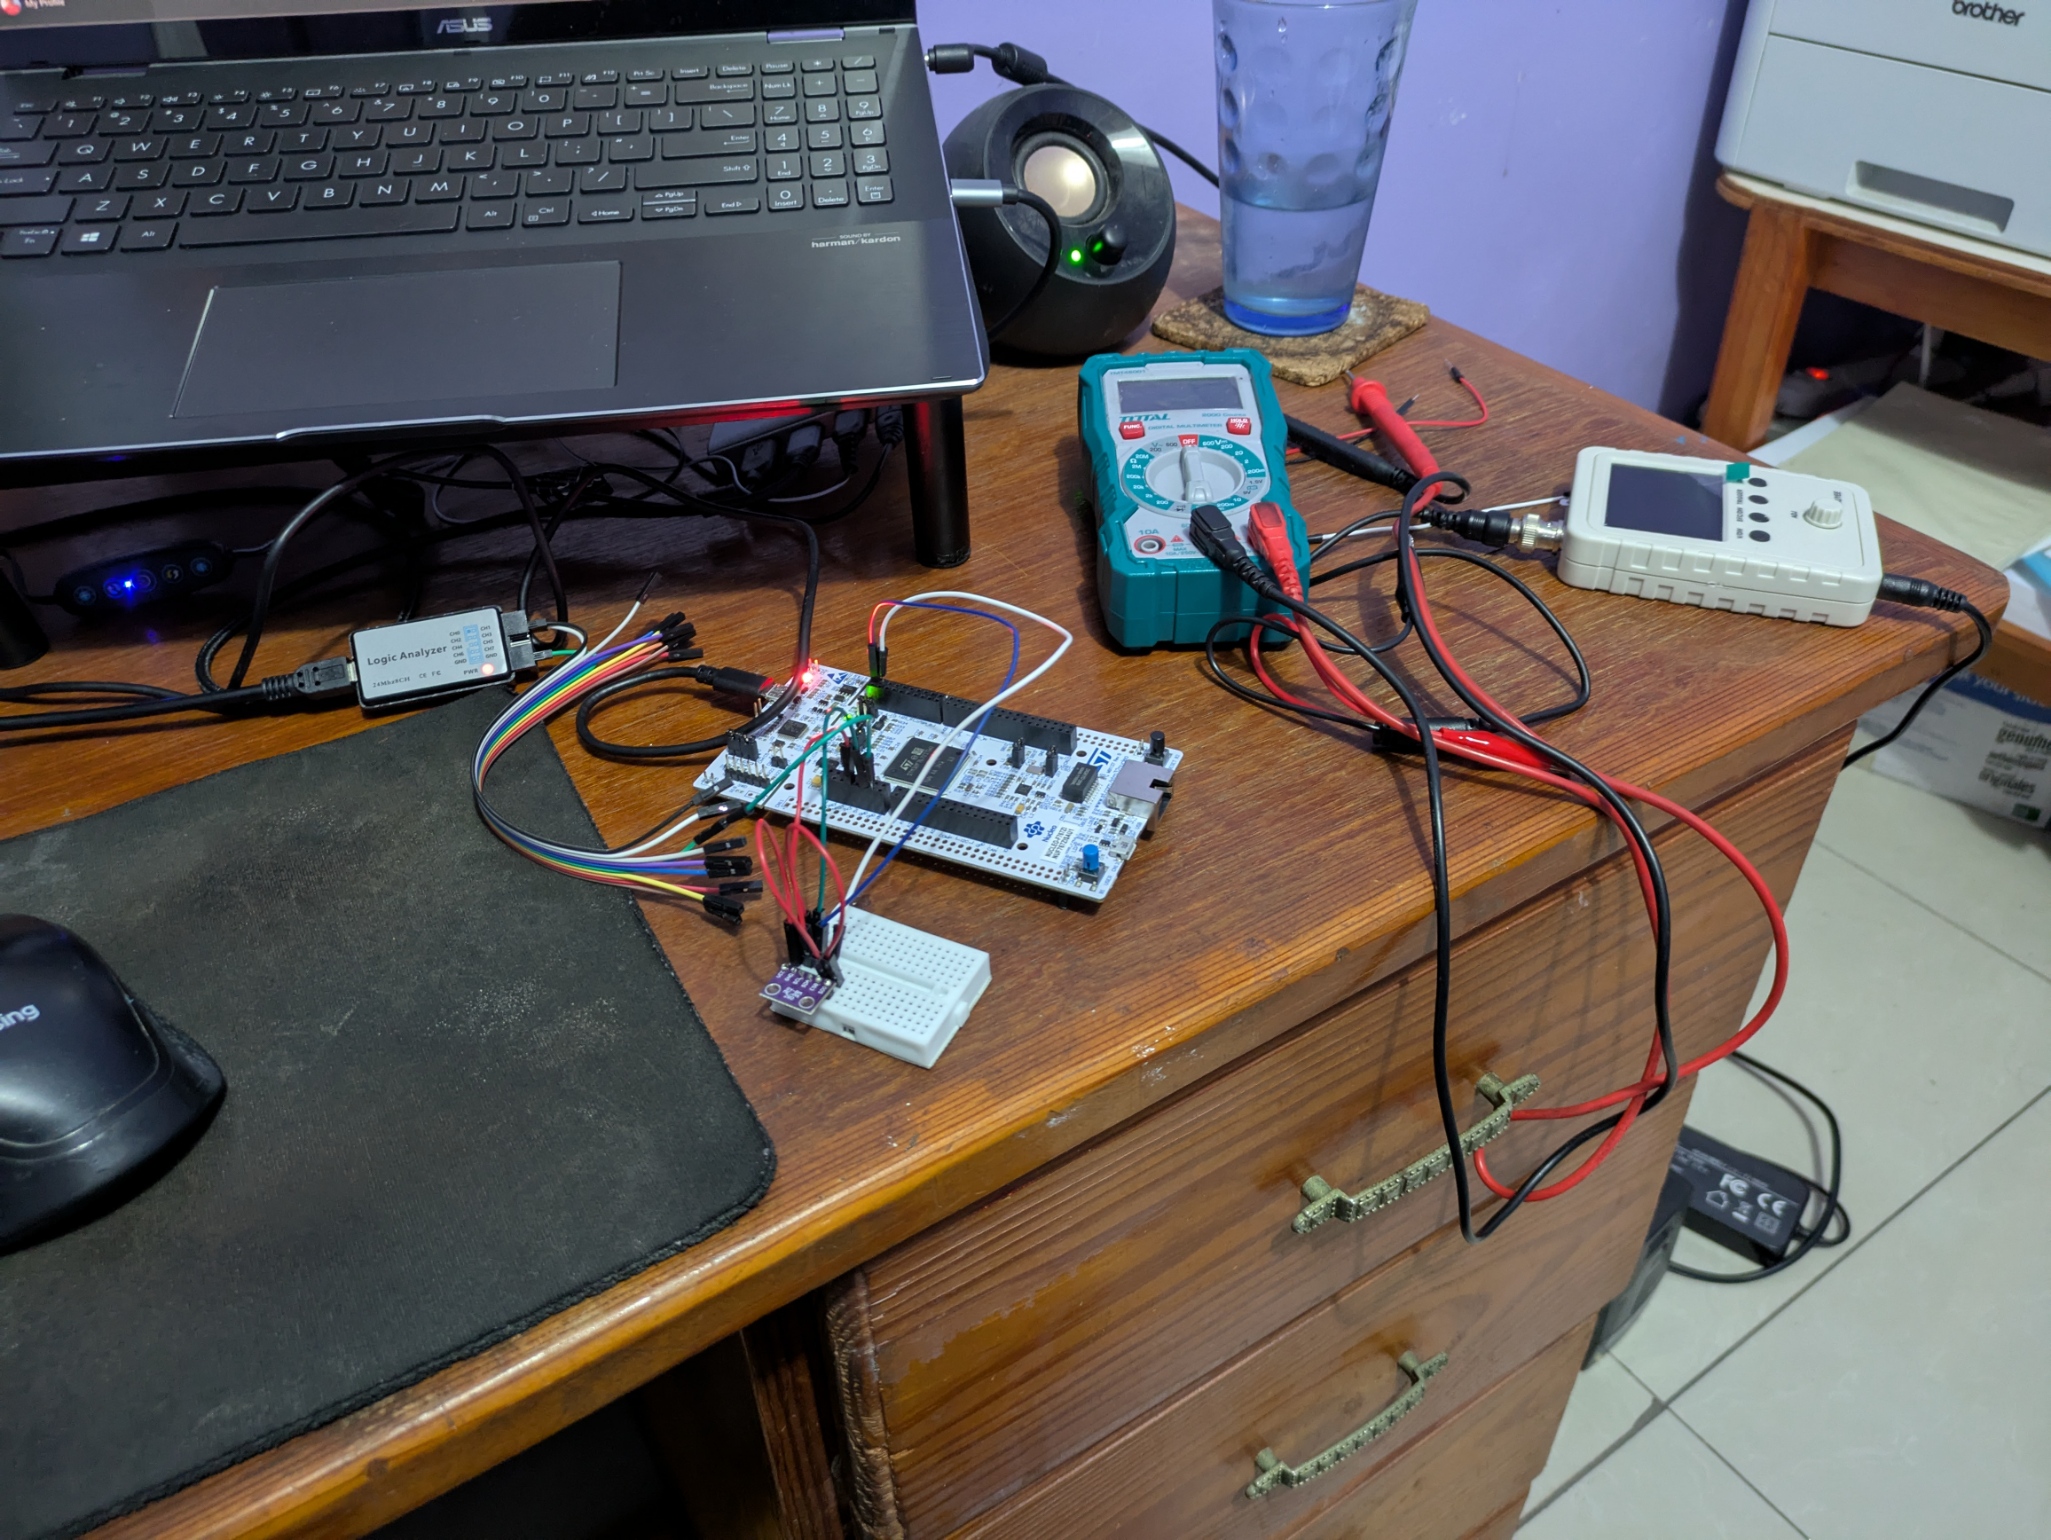
- STM32CubeMX was not assigning my I2C pins correctly, so I had to manually change the pin assignments in the code. I didn’t think to check this at first, so I spent a lot of time trying to figure out why I wasn’t getting any signals on my wires. I even busted out my logic analyzer, multimeter and oscilloscope to try to figure out what was going on.
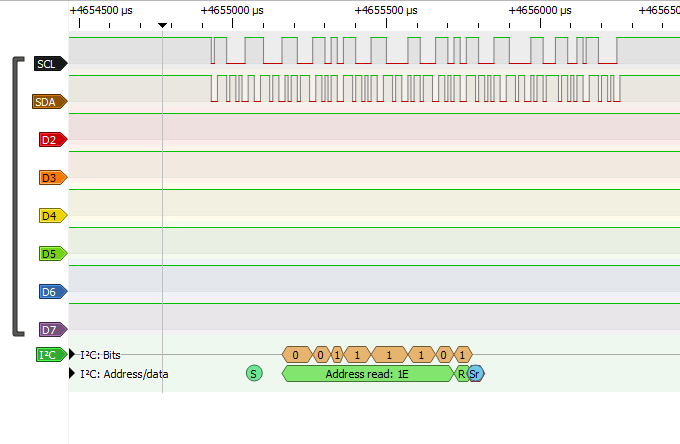
- I thought the I2C address stored for the sensor in the driver would have already been left shifted, but it wasn’t. It took me a while to figure out that I needed to left shift the address by one bit before passing it to the HAL I2C functions. Once I did that, I started to actually get a response from the sensor, and I knew that I hadn’t fried it with my soldering 🎉
- After that, I just had to figure out how to store the address for the sensor (using the void interface pointer and typecasting), and Deepseek helped me a lot with this (and some further refactoring).
Now I have a FreeRTOS task that configures the sensor, and reads the temperature, humidity and pressure data from it.
Next Steps
Next, I want to create two diagrams for the project: A UML and a Block Diagram. I also want to start creating some Unity test cases, and maybe create a function to store the sensor data in a csv file if I have more time after that.